미리보기
개요
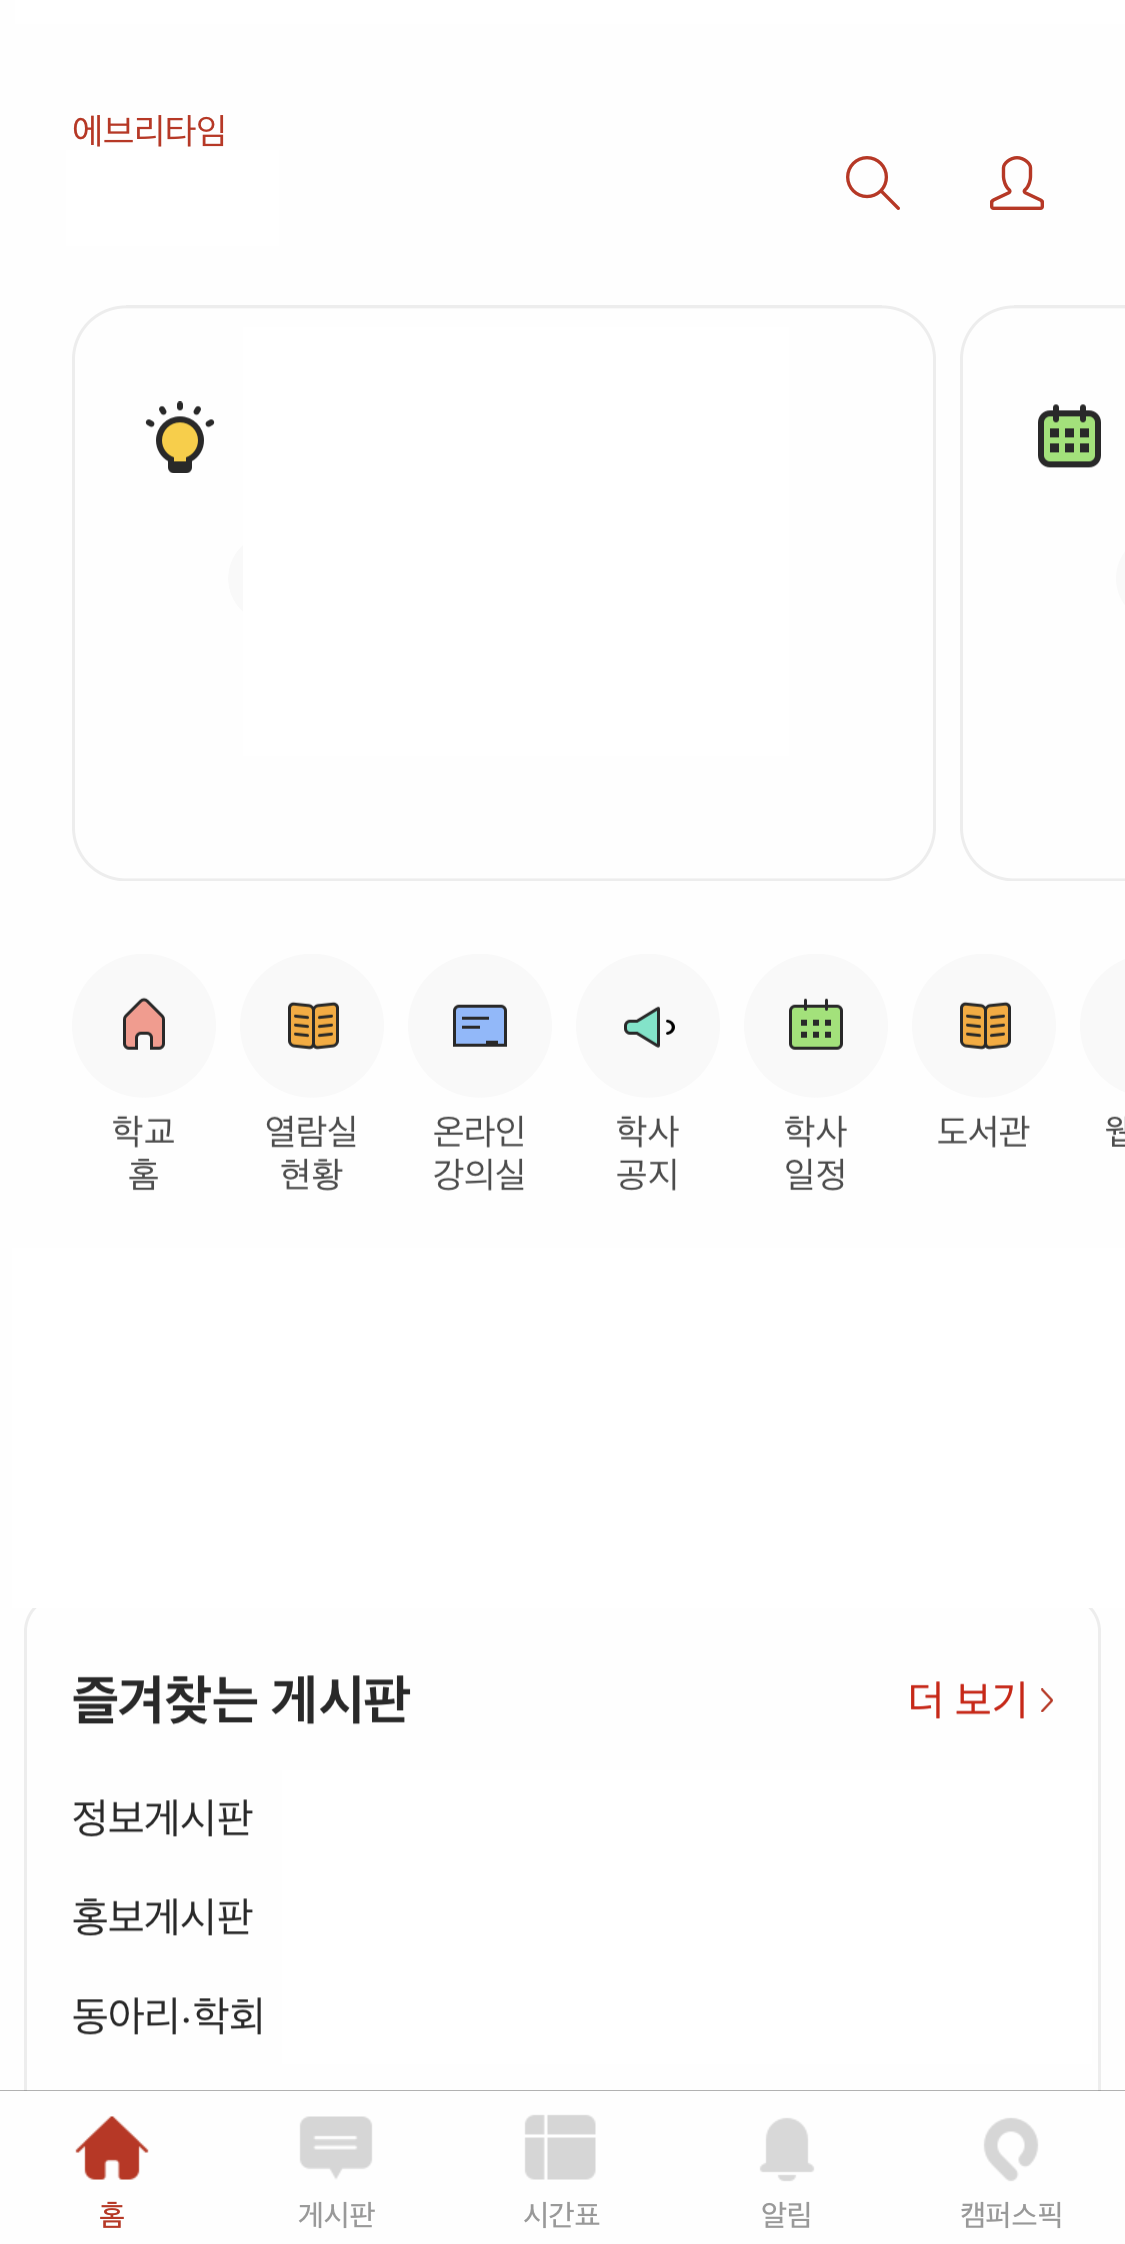
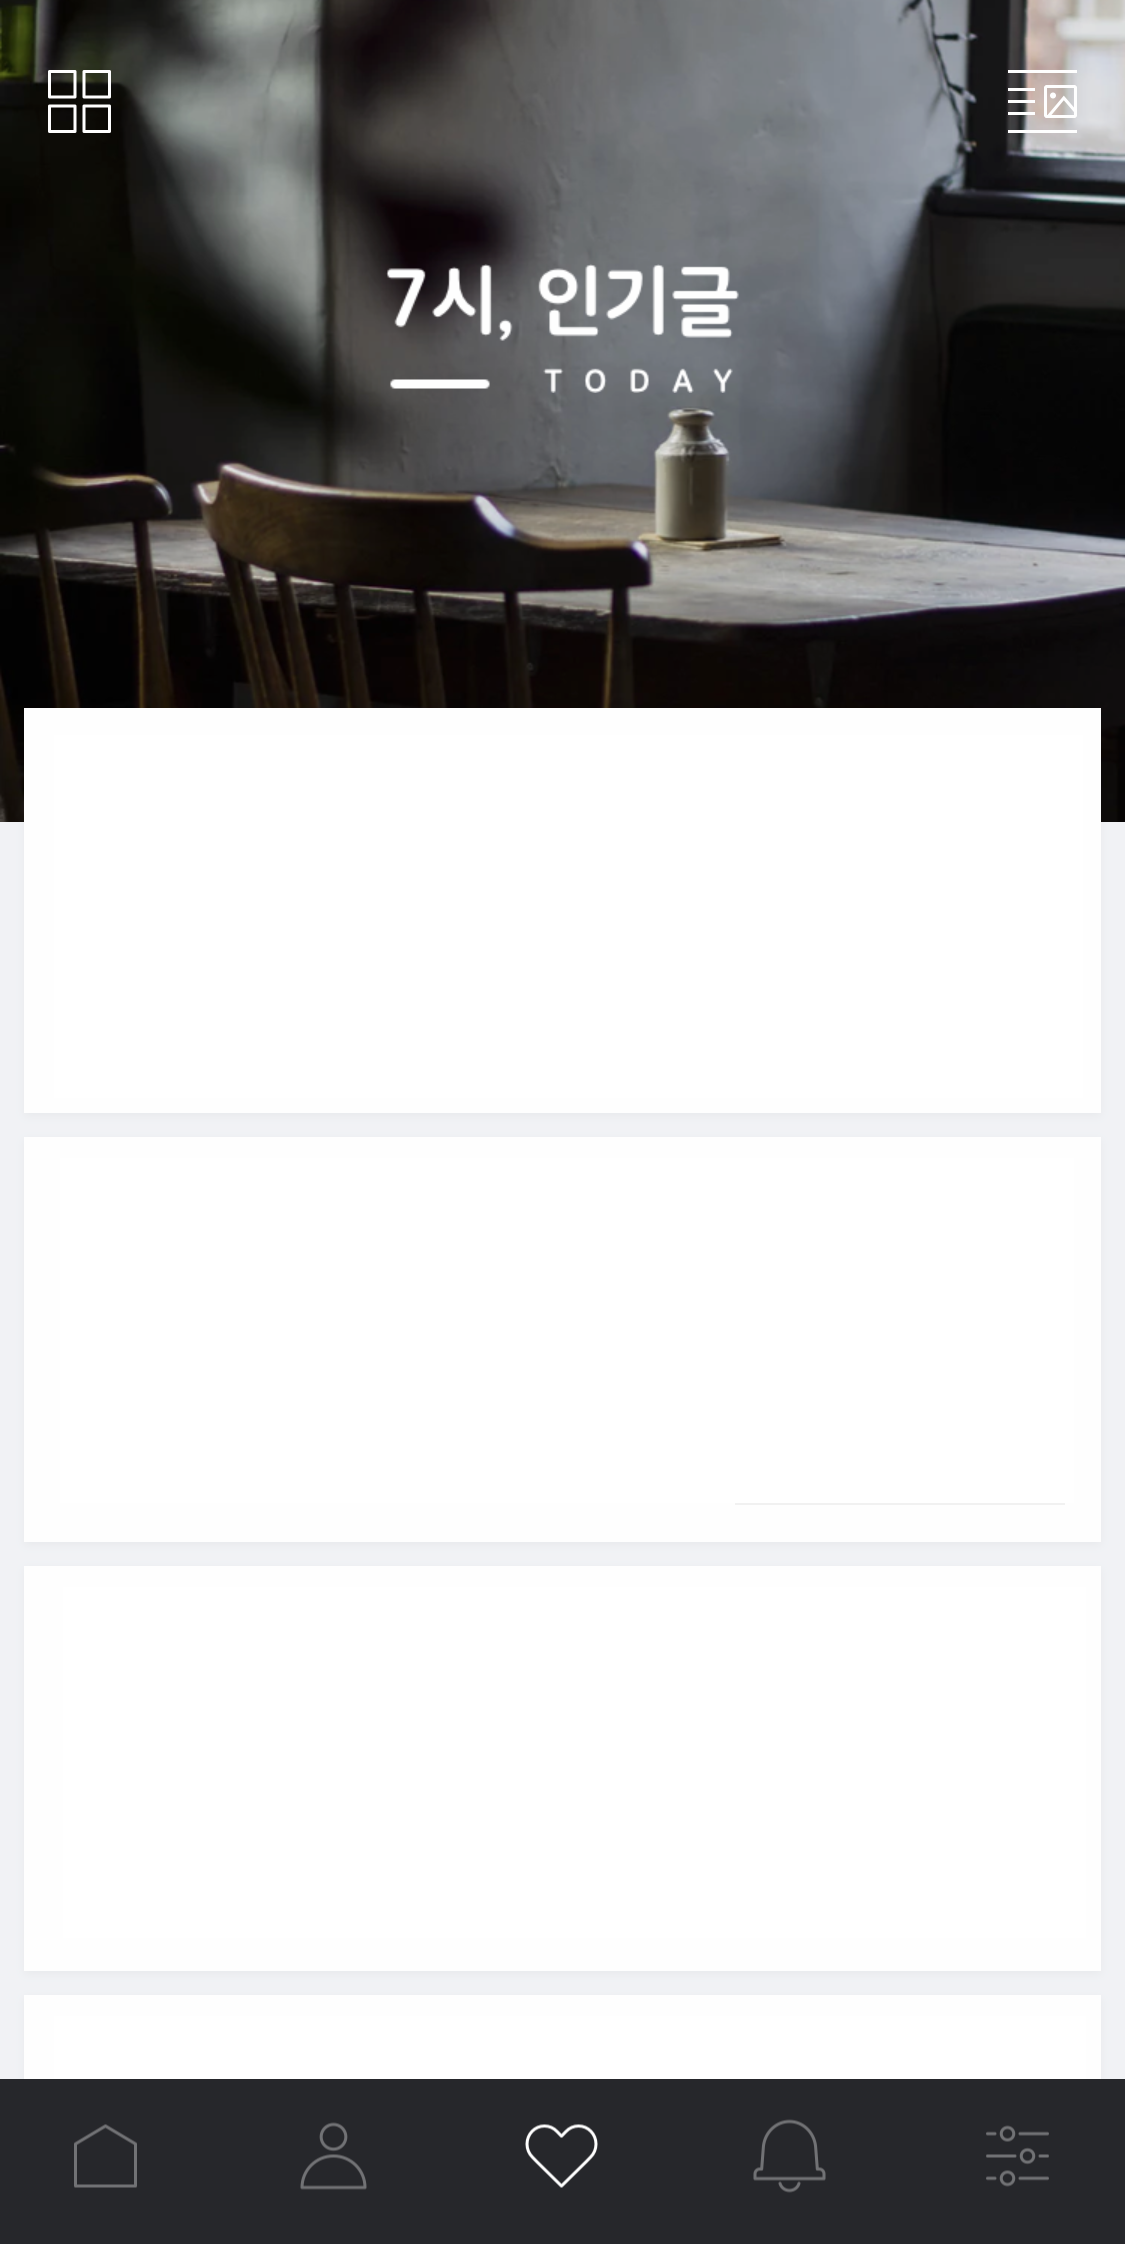
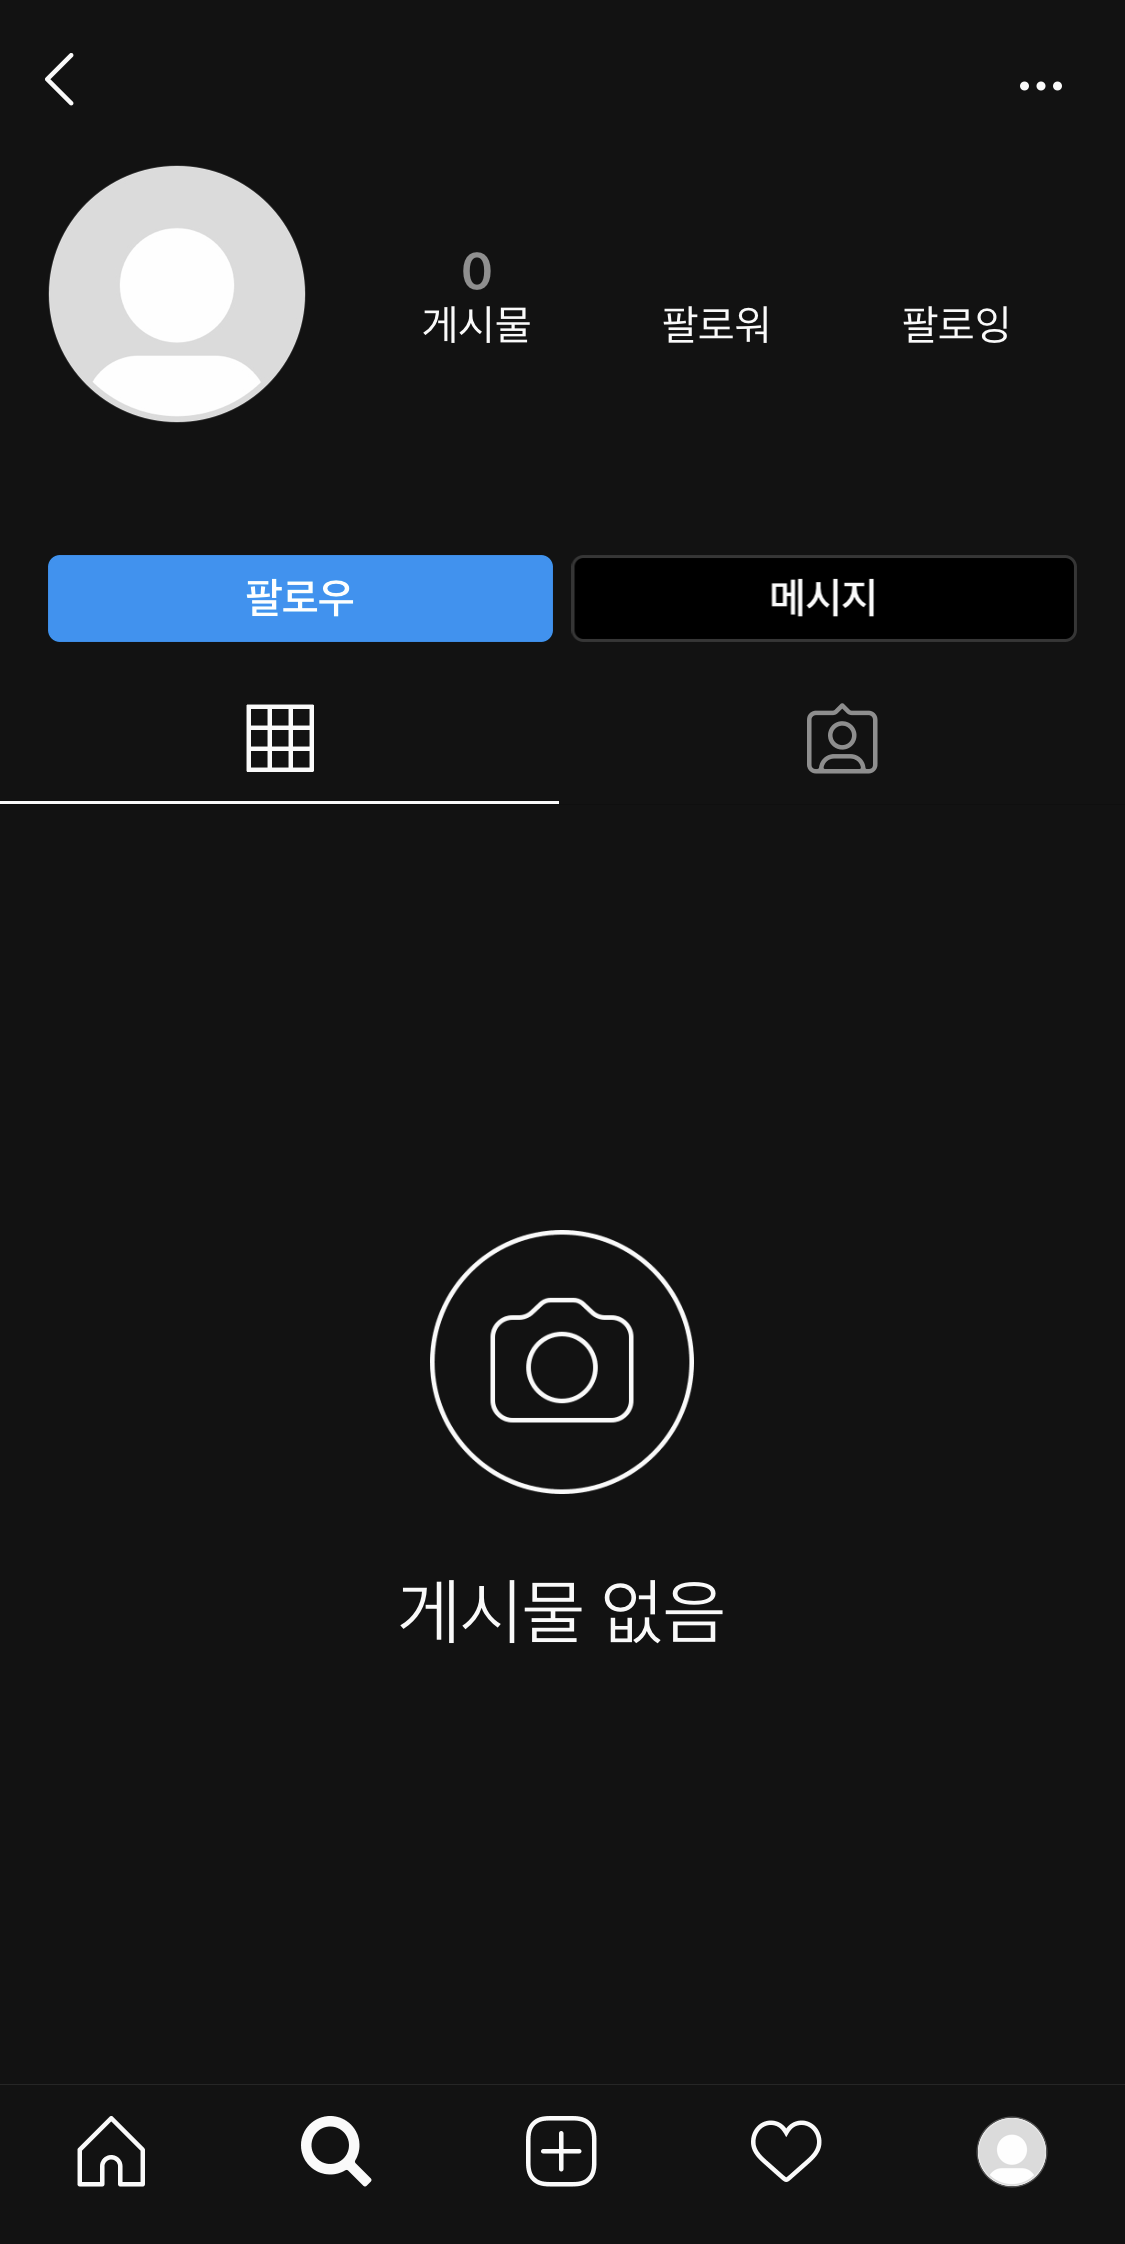
많은 애플리케이션에서 많이 보이는 Material Design 중 하나가 Bottom Navigation이다. BottomNavigationView는 하단에 바 형태의 메뉴를 생성하여 사용자에게 인터페이스(UI)를 제공한다. 하단의 각 메뉴를 선택하면 각각에 맞는 화면이 나타난다.
NavigarionView를 구성할 때에는
Fragment라는 UI 컴포넌트를 사용한다.Fragment는 별도의 라이프 사이클을 가지며 여러 Activity에서 재사용이 가능하다.
 |
 |
 |
 |
1. build.gradle (Module: app) 수정
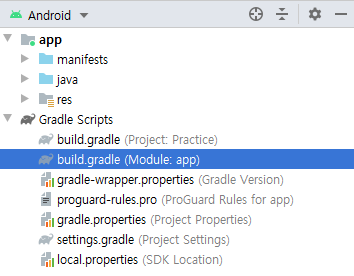
implementation 'com.android.support:design:28.0.0'
build.gradle(Module: app) 파일을 열어 dependencies에 한 줄을 추가해준다.
2. Menu Resource 추가
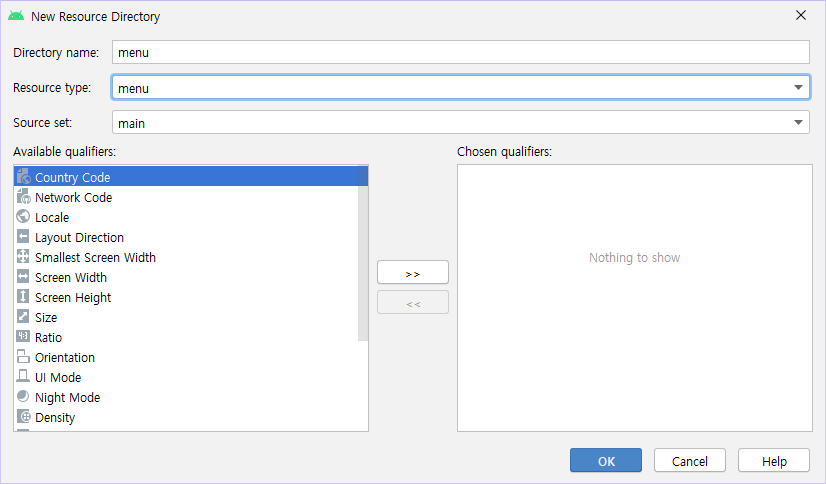
2-1. 새로운 menu resource directory를 만들어준다.
- (우클릭) > >
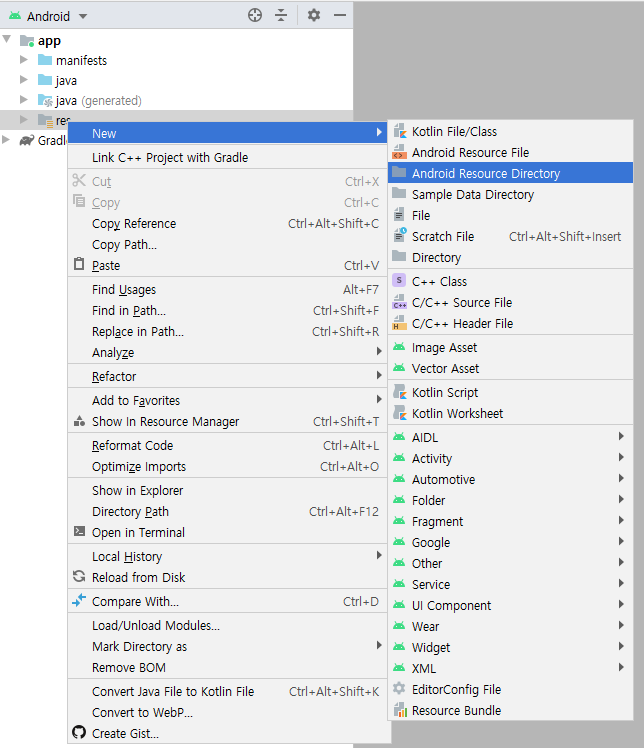
- menu 추가
2-2. 만들어진 menu resource directory에 main_menu_bottom.xml 파일을 추가한다.
- (우클릭) > >
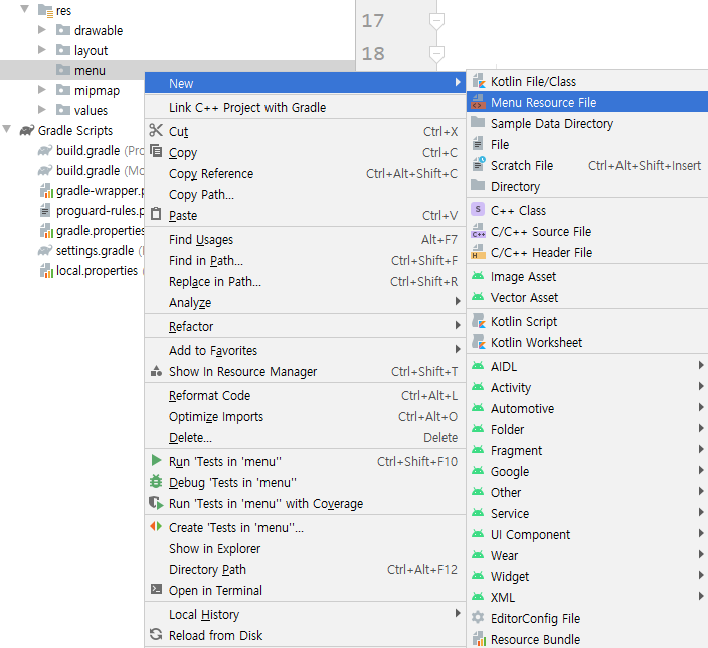
- main_menu_bottom 추가

- /res/menu/main_menu_bottom.xml
<?xml version="1.0" encoding="utf-8"?>
<menu xmlns:android="http://schemas.android.com/apk/res/android">

    <item
        android:id="@+id/menu_chart"
        android:icon="@drawable/icon_chart"
        android:title="MENU1" />

    <item
        android:id="@+id/menu_search"
        android:icon="@drawable/icon_sear"
        android:title="MENU2" />

    <item
        android:id="@+id/menu_more"
        android:icon="@drawable/icon_menu2"
        android:title="MENU3" />

</menu>
3. 하단 바를 생성할 Main Activity 추가
3-1. 아이콘의 색상을 책임질 리소스 파일 생성 (생략 가능)
- (우클릭) > >
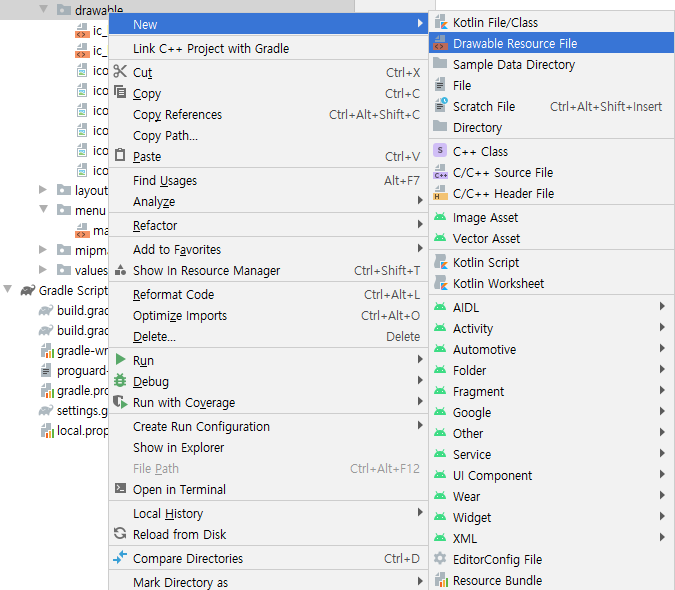
- menu_item_color 추가
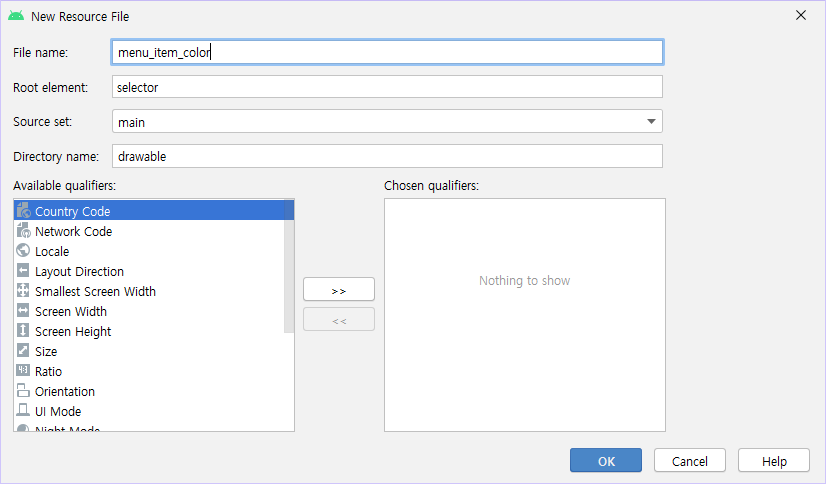
- res/drawable/menu_item_color.xml
<?xml version="1.0" encoding="utf-8"?>
<selector xmlns:android="http://schemas.android.com/apk/res/android">
    <item android:state_checked="true" android:color="#000000"/>
    <item android:state_checked="false" android:color="#A6A6A6"/>
</selector>
3-2. Main Activity 추가 및 xml 레이아웃 리소스 작성
- res/layout/activity_main_menu.xml
<?xml version="1.0" encoding="utf-8"?>
<androidx.constraintlayout.widget.ConstraintLayout xmlns:android="http://schemas.android.com/apk/res/android"
    xmlns:app="http://schemas.android.com/apk/res-auto"
    xmlns:tools="http://schemas.android.com/tools"
    android:layout_width="match_parent"
    android:layout_height="match_parent"
    tools:context=".MainMenuActivity">

    <FrameLayout
        android:id="@+id/menu_frame_layout"
        android:layout_width="match_parent"
        android:layout_height="match_parent"
        android:layout_marginBottom="?attr/actionBarSize"/>

    <com.google.android.material.bottomnavigation.BottomNavigationView
        android:id="@+id/menu_bottom_navigation"
        android:layout_width="match_parent"
        android:layout_height="wrap_content"
        android:layout_gravity="bottom"
        app:itemIconTint="@drawable/menu_item_color"
        app:itemTextColor="@drawable/menu_item_color"
        app:labelVisibilityMode="labeled"
        app:layout_constraintBottom_toBottomOf="parent"
        app:menu="@menu/main_menu_bottom"/>

</androidx.constraintlayout.widget.ConstraintLayout>
app:labelVisibilityMode속성을labeled로 하면 아이콘 밑에 텍스트가 보입니다.
app:itemIconTint="@drawable/menu_item_color"
app:itemTextColor="@drawable/menu_item_color"
속성을 통해 아이콘과 텍스트의 색깔을 변경할 수 있습니다.
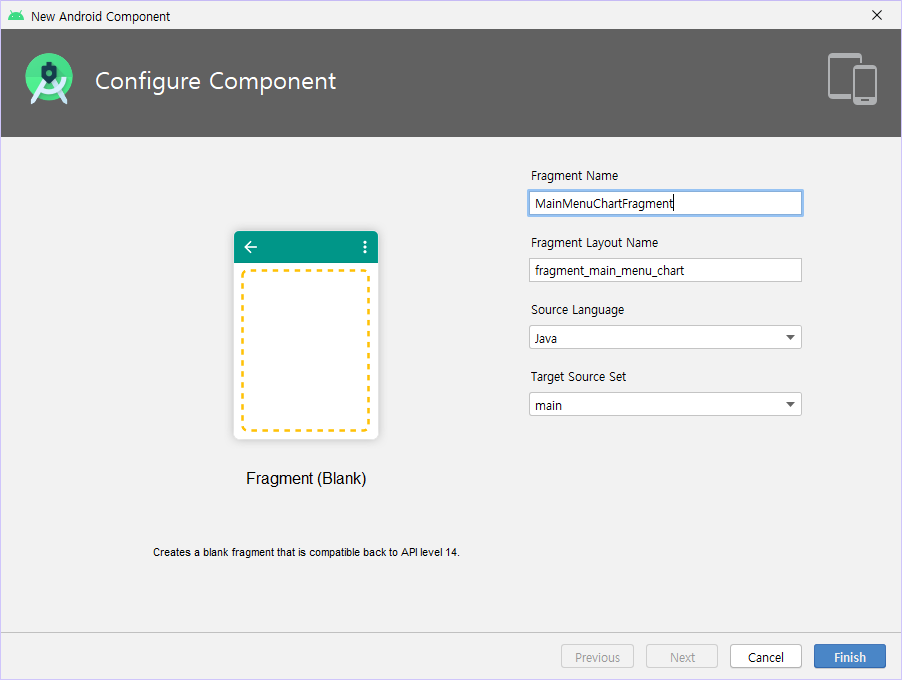
4. 메뉴에서 보여줄 Fragment 추가
- > >
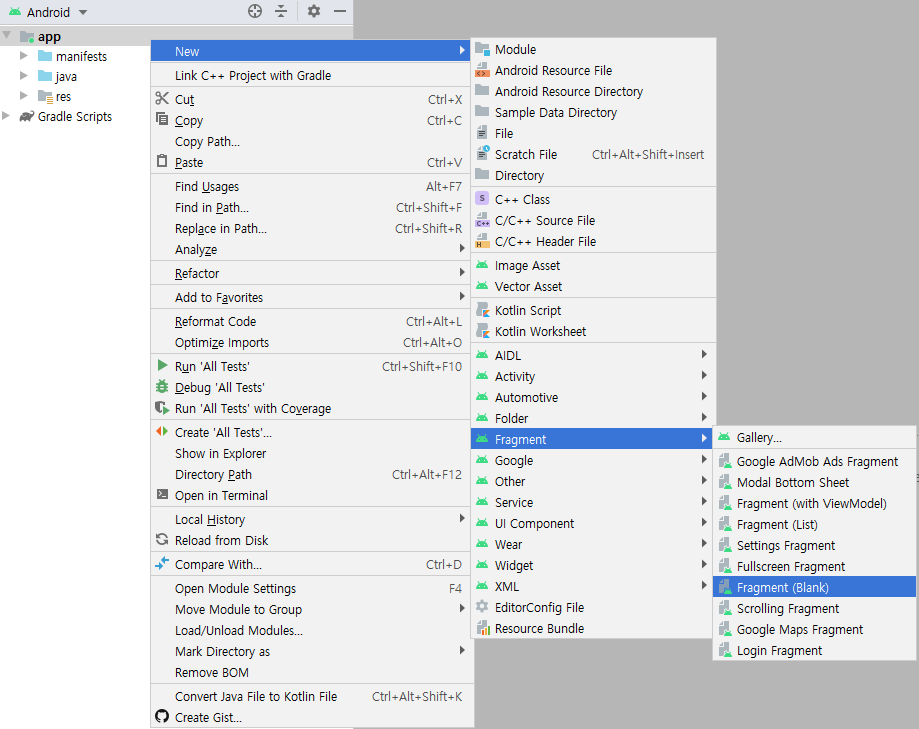
- MainMenuChartFragment, MainMenuSearchFragment, MainMenuMoreFragment 추가
4-1. xml 레이아웃 리소스 작성
- res/layout/fragment_main_menu_chart.xml
<?xml version="1.0" encoding="utf-8"?>
<LinearLayout xmlns:android="http://schemas.android.com/apk/res/android"
    xmlns:tools="http://schemas.android.com/tools"
    android:layout_width="match_parent"
    android:layout_height="match_parent"
    tools:context=".MainMenuChartFragment">

    <TextView
        android:layout_width="match_parent"
        android:layout_height="match_parent"
        android:gravity="center"
        android:text="차트"
        android:textColor="@android:color/black"
        android:textSize="50sp"/>

</LinearLayout>
- res/layout/fragment_main_menu_search.xml
<?xml version="1.0" encoding="utf-8"?>
<LinearLayout xmlns:android="http://schemas.android.com/apk/res/android"
    xmlns:tools="http://schemas.android.com/tools"
    android:layout_width="match_parent"
    android:layout_height="match_parent"
    tools:context=".MainMenuSearchFragment">

    <TextView
        android:layout_width="match_parent"
        android:layout_height="match_parent"
        android:gravity="center"
        android:text="검색"
        android:textColor="@android:color/black"
        android:textSize="50sp"/>

</LinearLayout>
- res/layout/fragment_main_menu_more.xml
<?xml version="1.0" encoding="utf-8"?>
<LinearLayout xmlns:android="http://schemas.android.com/apk/res/android"
    xmlns:tools="http://schemas.android.com/tools"
    android:layout_width="match_parent"
    android:layout_height="match_parent"
    tools:context=".MainMenuMoreFragment">

    <TextView
        android:layout_width="match_parent"
        android:layout_height="match_parent"
        android:gravity="center"
        android:text="더보기"
        android:textColor="@android:color/black"
        android:textSize="50sp"/>

</LinearLayout>
4-2. Fragment의 java 파일 작성
- MainMenuChartFragment.java
public class MainMenuChartFragment extends Fragment {

    @Override
    public View onCreateView(LayoutInflater inflater, ViewGroup container,
                             Bundle savedInstanceState) {
        ViewGroup rootView = (ViewGroup)inflater.inflate(R.layout.fragment_main_menu_chart, container, false);

        return rootView;
    }
}
- MainMenuMoreFragment.java
public class MainMenuMoreFragment extends Fragment {

    @Override
    public View onCreateView(LayoutInflater inflater, ViewGroup container,
                             Bundle savedInstanceState) {
        ViewGroup rootView = (ViewGroup)inflater.inflate(R.layout.fragment_main_menu_more, container, false);

        return rootView;
    }
}
- MainMenuSearchFragment.java
public class MainMenuSearchFragment extends Fragment {

    @Override
    public View onCreateView(LayoutInflater inflater, ViewGroup container,
                             Bundle savedInstanceState) {
        ViewGroup rootView = (ViewGroup)inflater.inflate(R.layout.fragment_main_menu_search, container, false);

        return rootView;
    }
}
5. Fragment와 Menu 연결
- MainMenuActivity.java
public class MainMenuActivity extends AppCompatActivity {

        private FragmentManager fragmentManager = getSupportFragmentManager();
        private MainMenuChartFragment fragmentChart = new MainMenuChartFragment();
        private MainMenuSearchFragment fragmentSearch = new MainMenuSearchFragment();
        private MainMenuMoreFragment fragmentMore = new MainMenuMoreFragment();

        @Override
        protected void onCreate(Bundle savedInstanceState) {
            super.onCreate(savedInstanceState);
            setContentView(R.layout.activity_main_menu);

            FragmentTransaction transaction = fragmentManager.beginTransaction();
            transaction.replace(R.id.menu_frame_layout, fragmentChart).commitAllowingStateLoss();

            BottomNavigationView bottomNavigationView = findViewById(R.id.menu_bottom_navigation);
            bottomNavigationView.setOnNavigationItemSelectedListener(new ItemSelectedListener());

        }

        class ItemSelectedListener implements BottomNavigationView.OnNavigationItemSelectedListener {
            @Override
            public boolean onNavigationItemSelected(@NonNull MenuItem menuItem) {
                FragmentTransaction transaction = fragmentManager.beginTransaction();

                switch (menuItem.getItemId()) {
                    case R.id.menu_chart:
                        transaction.replace(R.id.menu_frame_layout, fragmentChart).commitAllowingStateLoss();
                        break;
                    case R.id.menu_search:
                        transaction.replace(R.id.menu_frame_layout, fragmentSearch).commitAllowingStateLoss();
                        break;
                    case R.id.menu_more:
                        transaction.replace(R.id.menu_frame_layout, fragmentMore).commitAllowingStateLoss();
                        break;

                }

                return true;
            }
        }
}
6. 완성!
REFERENCE
Do it! 안드로이드 앱 프로그래밍 (개정 6판), 정재곤
안드로이드 with Kotlin 앱 프로그래밍 가이드, 안귀정
BottomNavigationView | Android Developers
[BottomNavigationView] 안드로이드 BottomNavigationView 사용하기
[Android] 안드로이드 - BottomNavigationView 사용하여 하단 메뉴 만들기