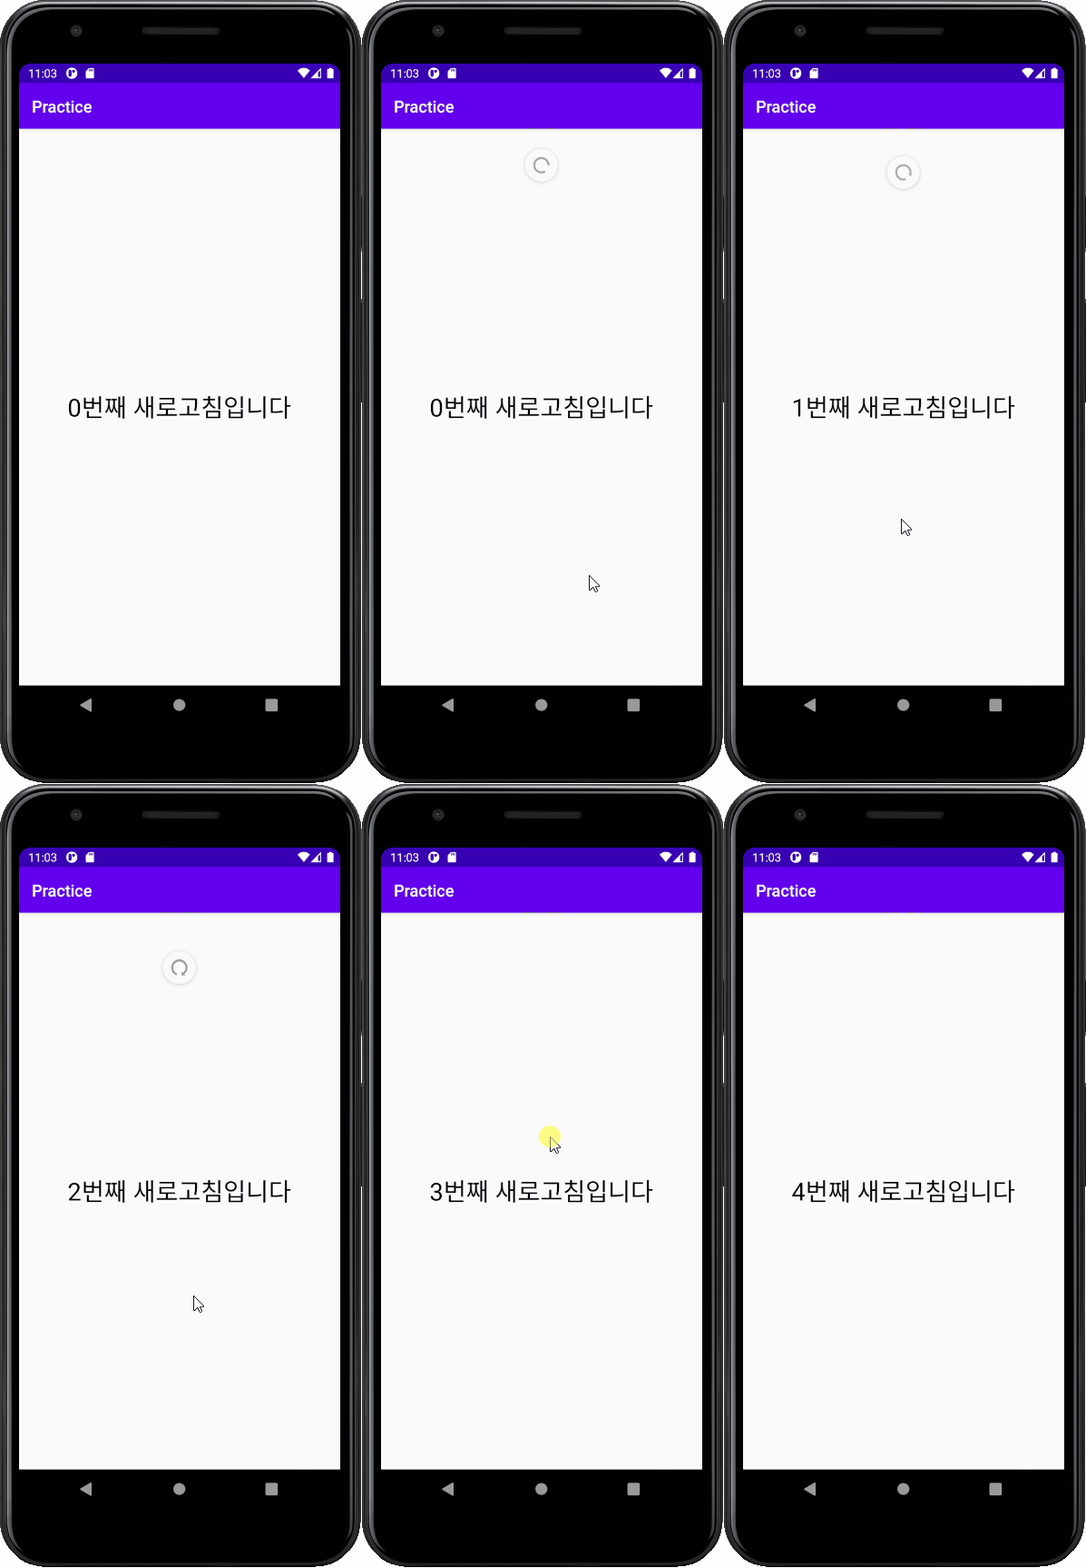
미리보기

개요
Swiperefreshlayout은 사용자가 수동으로 업데이트 를 요청할 수 있도록 한다. Swiperefreshlayout이 적용되어 있는 Activity에 수직으로 pull하면 업데이트가 트리거된다.
이 포스트에서는 예시로 새로고침을 할 때 마다 새로고침 횟수를 증가하여 보여주는 액티비티를 만든다.
1. build.gradle (Module: app) 수정
dependencies {
    implementation "androidx.swiperefreshlayout:swiperefreshlayout:1.1.0"
}
build.gradle(Module: app) 파일을 열어 Swiperefreshlayout와 관련된 빌드 종속성을 추가해준다.
최신버전은 여기서 확인가능합니다.
2. xml 파일 수정
- activity_main.xml
<?xml version="1.0" encoding="utf-8"?>
<androidx.swiperefreshlayout.widget.SwipeRefreshLayout xmlns:android="http://schemas.android.com/apk/res/android"
    xmlns:app="http://schemas.android.com/apk/res-auto"
    xmlns:tools="http://schemas.android.com/tools"
    android:layout_width="match_parent"
    android:layout_height="match_parent"
    android:id="@+id/swiperefreshlayout"
    tools:context=".MainActivity">

    <LinearLayout
        android:layout_width="match_parent"
        android:layout_height="match_parent"
        android:gravity="center">

        <TextView
            android:id="@+id/refresh_cnt"
            android:layout_width="wrap_content"
            android:layout_height="wrap_content"
            android:text="0"
            android:textSize="30sp"
            android:textColor="#000"/>

        <TextView
            android:layout_width="wrap_content"
            android:layout_height="wrap_content"
            android:gravity="center"
            android:text="번째 새로고침입니다"
            android:textSize="30sp"
            android:textColor="#000"/>

    </LinearLayout>

</androidx.swiperefreshlayout.widget.SwipeRefreshLayout>
Swiperefreshlayout에 id를 지정하고 Child View들을 구현해준다.
이 때
Swiperefreshlayout은 하나의 Child View만을 허용하므로 Child View들은 LinearLayout으로 묶어주었습니다.
3. java 파일 수정
public class MainActivity extends AppCompatActivity {

    private SwipeRefreshLayout swipeRefreshLayout;
    private TextView cnt_text;
    private int cnt=0;

    @Override
    protected void onCreate(Bundle savedInstanceState) {
        super.onCreate(savedInstanceState);
        setContentView(R.layout.activity_main);

        swipeRefreshLayout = findViewById(R.id.swiperefreshlayout);
        cnt_text = findViewById(R.id.refresh_cnt);

        swipeRefreshLayout.setOnRefreshListener(new SwipeRefreshLayout.OnRefreshListener() {
            @Override
            public void onRefresh() {
                /* swipe 시 진행할 동작 */
                cnt_text.setText(String.valueOf(++cnt));

                /* 업데이트가 끝났음을 알림 */
                swipeRefreshLayout.setRefreshing(false);
            }
        });

    }
}
새로고침 작업에 응답하려면 SwipeRefreshLayout.OnRefreshListener 인터페이스와 onRefresh() 메소드를 구현해야 한다. 사용자가 스와이프를 하면 onRefresh() 메소드가 호출되며, 데이터 업데이트가 완료되면 setRefreshing(false)를 호출하여 업데이트가 끝났음을 알린다. setRefreshing(false)를 호출하지 않으면 새로고침 표시기가 사라지지 않으며 새로고침 동작이 끝나지 않는다.
4. 결과

REFERENCE
Swiperefreshlayout | Android Developers
Adding Swipe-to-Refresh To Your App | Android Developers